Text-To-Speech
If you need to create a unique greeting file or any other notification in Cloud PBX but you do not have the opportunity to quickly make a studio recording, you can use the Text-to-Speech feature. Just prepare the text of the message and Cloud PBX will read it in any voice you like.
Listen to examples of what a greeting generated using the Text-to-Speech feature might sound like:
This setting is available in all sections where playing a voice message by Cloud PBX takes place:
- greetings for phone numbers,
- an offer to leave a message to a voicemail in the Departments settings,
- a notification that conversations with an employee can be recorded,
- a notification about forwarding to a personal manager in the CRM integration settings.
Let's look at how to generate an audio message using the Text-to-Speech feature with the example of adding your own greeting for phone numbers. Similarly, you can create a message in any of the sections listed above.
How to Convert a Text Message to an Audio File
1. In the greeting settings, go to the Text-to-Speech tab and click the Synthesize speech button.

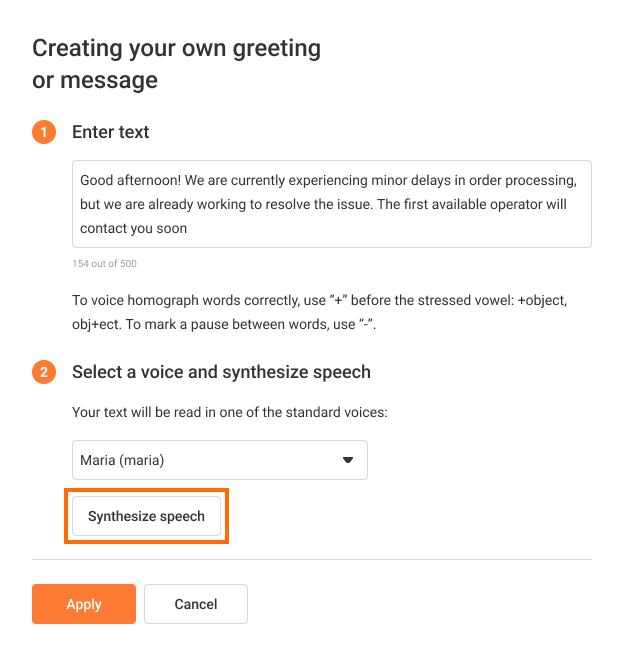
2. Enter your greeting text, select a voice to read it and click the Synthesize speech button.
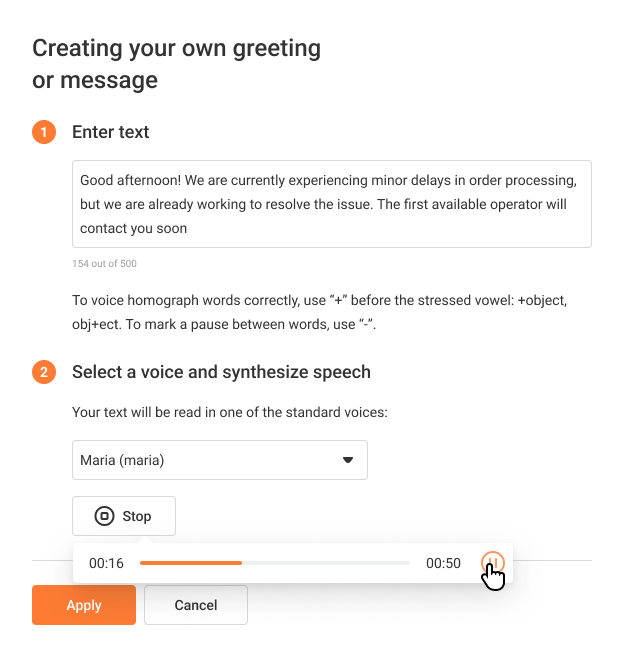
3. Listen to the generated voice message and make sure it sounds correct. Edit the text if necessary.
To voice homograph words correctly, use + before the stressed vowel: +object, obj+ect.
To mark a pause between sentences:
- Either use “‑”.
- Or enter sil<[500]>, where 500 is the pause duration in milliseconds (500 ms = 0,5 s). We recommend that you select a value not more than 700 and not less than 200–300 ms.
Please note: if you want to make a delay at the very beginning, you need to add a special symbol, for example #, to get #sil<[500]>.
4. If you are satisfied with how Cloud PBX has voiced your greeting text, click the Apply button.
5. Now in the settings of a specific number in the Greeting section you can see what greeting your customer will hear when they call this number.

6. Confirm replacing the greeting file by clicking the Save button at the bottom of the page.
You can change the greeting at any time by editing the message text on the Text-to-Speech tab. Also, you always have access to the standard greeting and the ability to upload up to 40 of your own greeting files.